
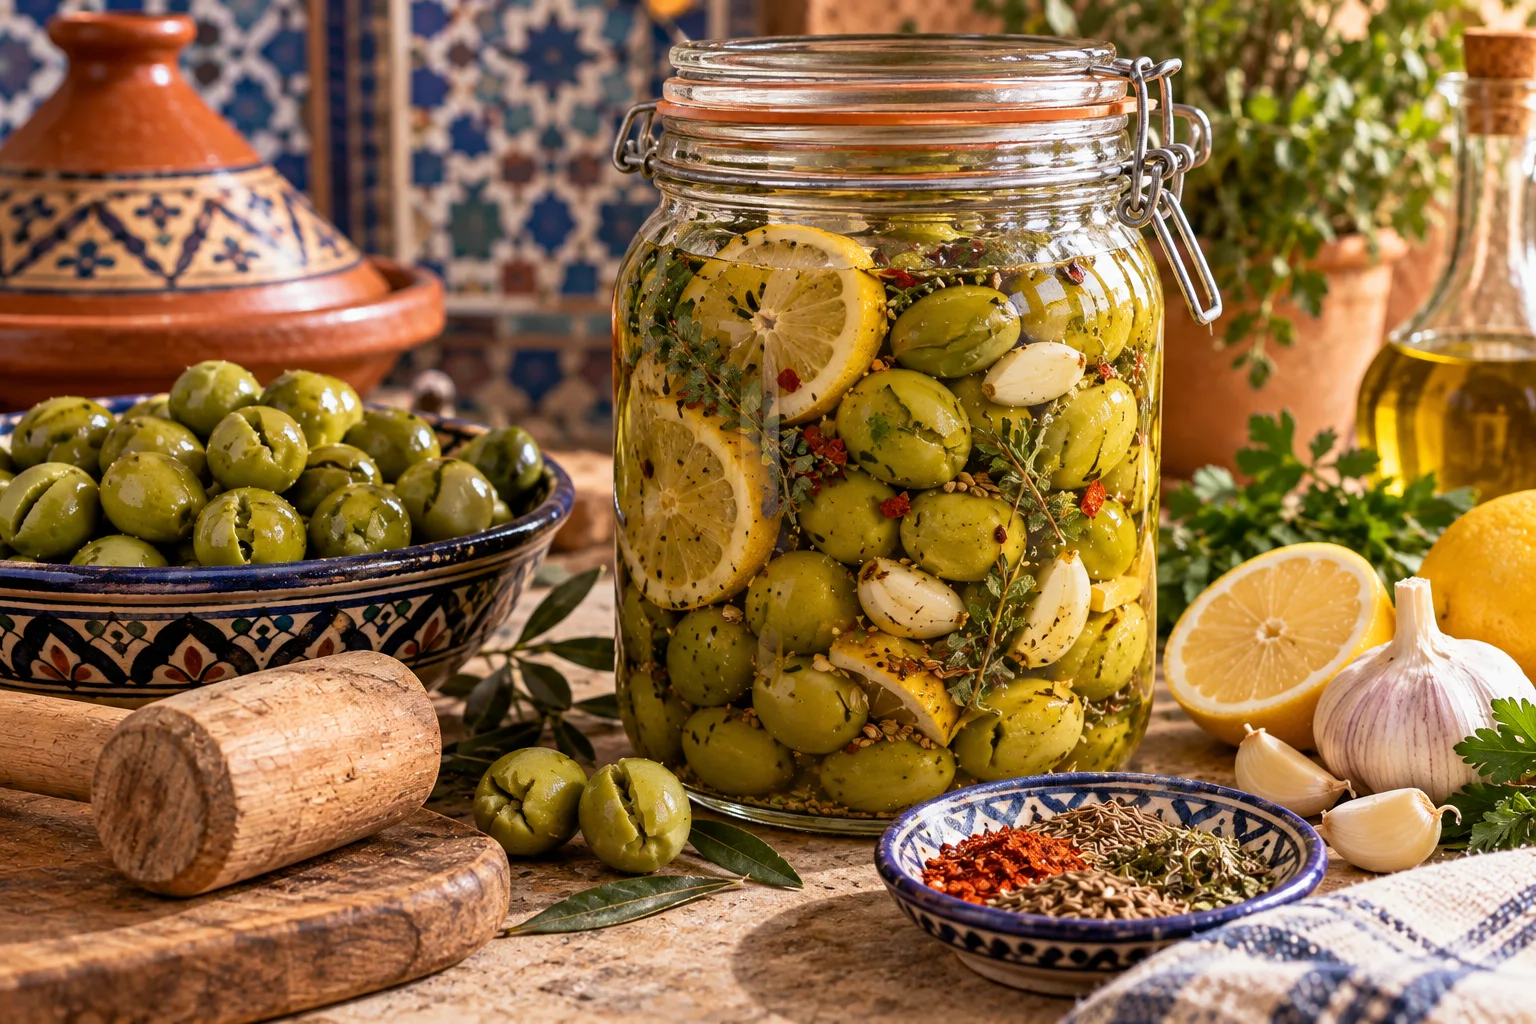
Moroccan Preserved Olives
Fresh olives are far too bitter to eat straight from the tree. Before serving them, you need to remove much of their natural bitterness and place them in a properly measured finishing brine.
Moroccan families and olive sellers prepare olives in many ways. The seasonings change from one household or region to another. Lemon, garlic, herbs, cumin, paprika, and chili are common choices, but there is no single recipe used across the whole country.
The method below uses cracked green olives. It follows the water-curing instructions published by the University of California Agriculture and Natural Resources. The Moroccan character comes from the final seasoning.
What You Need
For the olives
- Fresh, firm green olives
- Fresh, cool water
- A clean glass or food-grade plastic container
- A clean plate or sealed food bag filled with water
- A rolling pin or flat kitchen mallet
- Clean jars with tight lids
For the finishing brine
For every 1 litre of water, use:
- 120 grams pickling salt
- 125 millilitres white wine vinegar labelled 5% acidity
Prepare enough brine to cover all the olives. Keep the same proportions when making a larger batch.
Pickling salt works best because it contains no anti-caking ingredients. If you use another salt, measure it by weight. Do not use reduced-sodium salt substitutes.
Optional seasonings
- Lemon slices
- Whole peeled garlic cloves
- Oregano or thyme
1. Choose Good Fresh Olives
Start with firm green olives. Remove any fruit with bruises, insect damage, mold, soft areas, or an unpleasant smell.
Olives of a similar size cure more evenly. Sort them by size if your batch contains both small and large fruit.
Remove the leaves and stems, then rinse the olives well under clean water.
2. Crack the Olives
Place one or two olives on a clean cutting board. Press or strike them gently with a rolling pin or the flat side of a kitchen mallet.
You want to split the flesh without crushing the olive completely. Leave the pit whole and inside the fruit.
Cracking opens the flesh and helps the bitter compounds escape during soaking.
3. Soak Them and Change the Water Daily
Put the cracked olives in a clean container and cover them with fresh, cool water.
Olives float, so place a clean plate or a sealed food-storage bag filled with water on top. Every olive should stay below the surface.
Cover the container loosely. After 24 hours, drain the water and replace it with fresh water.
Repeat this water change once a day for six or seven days. Taste one sound olive after this period. Continue for a few more days if the olives remain more bitter than you like.
Do not leave the olives sitting in unchanged water. Daily water changes matter. Soaking them for too long may also leave them soft and lacking flavor.
4. Prepare the Finishing Brine
Measure 120 grams of pickling salt for every 1 litre of cool water. Stir until the salt dissolves.
Add 125 millilitres of white wine vinegar labelled 5% acidity for every litre of water used. Mix the brine well.
Do not reduce the salt or vinegar. These measurements come from a tested olive-curing method. Salt here serves a preservation role, not only a seasoning role.
5. Pack and Season the Olives
Drain the cured olives and transfer them to clean jars.
For a simple aromatic version, add lemon slices, whole garlic cloves, oregano, or thyme. Avoid filling the jar with too many additions. The olives should remain the main ingredient.
Pour the finishing brine over the olives until they are fully submerged. Release visible air pockets, close the jars firmly, and place them in the refrigerator.
Leave the olives in the finishing brine for at least four days before serving. More time in the refrigerator will produce a stronger flavor.
Add Moroccan Seasoning Before Serving
Season a small portion instead of changing the full storage jar. This gives you better control over flavor and keeps the main batch in its original brine.
Drain the amount you plan to serve. Add a little ground cumin, paprika, chili, chopped coriander, parsley, or finely chopped preserved lemon.
Taste before adding salt. The curing brine already contains a large amount.
If you want better-quality cumin, paprika, or other ingredients, read our guide to buying spices in Moroccan markets.
How Moroccans Serve Olives
Olives often appear with bread, zaalouk, roasted peppers, tomato salads, and other small dishes placed around the table.
They also add salt and depth to chicken tagine with preserved lemon, fish tagines, vegetable dishes, and cooked salads.
If they taste too salty, rinse only the portion you plan to eat. Keep rinsed olives refrigerated and eat them soon.
Storage and Spoilage
Keep these olives refrigerated and covered by their finishing brine. The University of California guide lists refrigerated storage of up to one year for this method when the container stays properly closed and the olives remain submerged.
Always remove olives with a clean utensil. Close the jar and return it to the refrigerator after serving.
Discard the olives if they develop mold, an unpleasant smell, unusual softness, leaking liquid, or a bulging lid. Never taste suspicious olives to check whether they are safe.
Do Not Store These Jars at Room Temperature
These water-cured olives are a refrigerated food. The salt-and-vinegar finishing brine does not turn this recipe into a shelf-stable canned product.
Olives are a low-acid food. Safe room-temperature canning requires a separate tested pressure-canning process.
Extra lemon, more vinegar added without a tested formula, spices, or a layer of olive oil do not make an improvised jar safe for pantry storage.
Why This Method Works
Cracking the olives and changing the water every day removes much of their bitterness. The measured finishing brine then adds salt, acidity, and flavor.
Keeping the jars cold slows spoilage. Adding Moroccan spices at serving time gives you the flavor you want without interfering with the storage method.
The process takes patience, but the work itself is simple. Crack the olives, change the water daily, measure the brine carefully, and keep the finished jars refrigerated.
Sources and Food-Safety Guidance
The curing measurements and storage instructions in this article follow Olives: Safe Methods for Home Pickling, published by the University of California Agriculture and Natural Resources.
UC Davis continues to recommend this publication through its current table olive and home-pickling guidance.
Food-preservation advice changes as research develops. Check the original publication before starting and follow newer official instructions if the guidance changes.

CONVERSATION